This session stopped prematurely when I cut my right thumb while tapping the arbor. Blood was dripping on the floor and table when I rushed to wash the wound under running water. The pain was terrible. Thank God it was just a cut. Though a little deeper than what I got normally, it is nothing serious. My wife, of course, nagged a little while putting on the plaster for me.
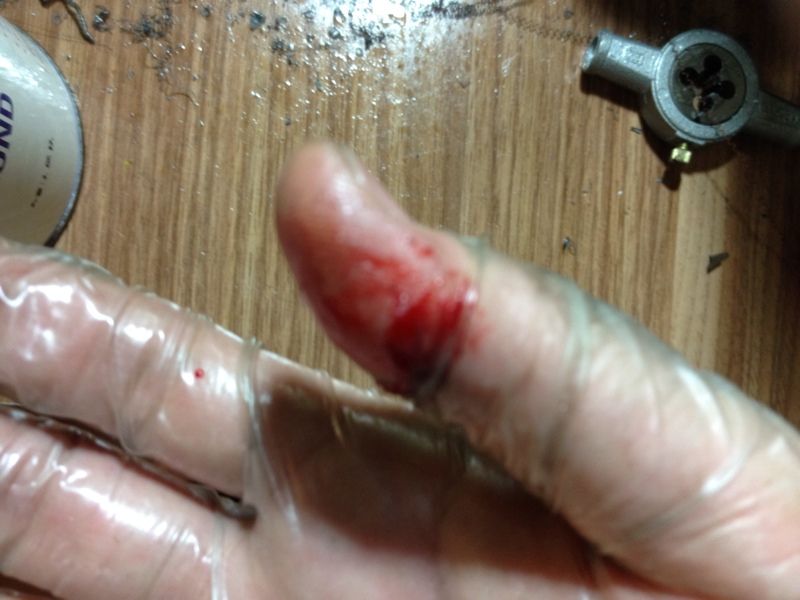 |
| The blood started dripping off my thumb when the latex glove was removed. |
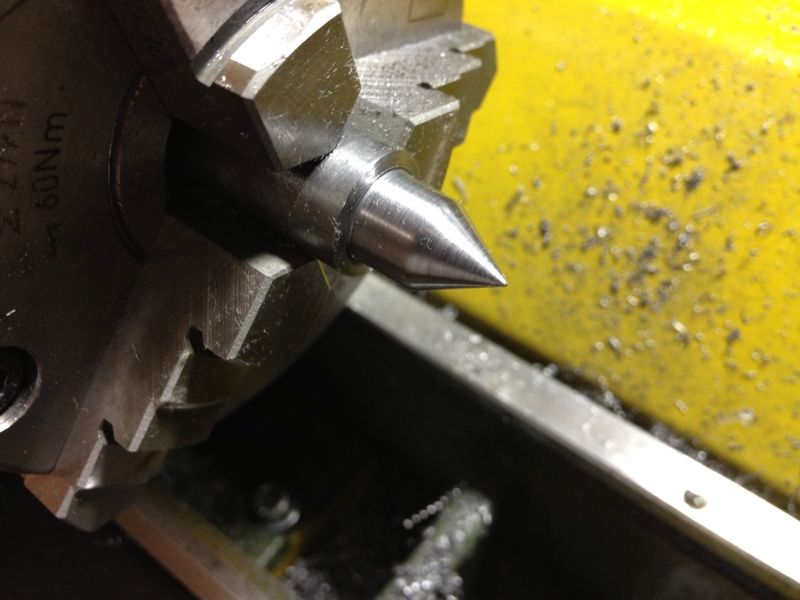
Back to the making of the 1/2 centre. The 60-degree point was completed this session, after struggling to make the arbor.
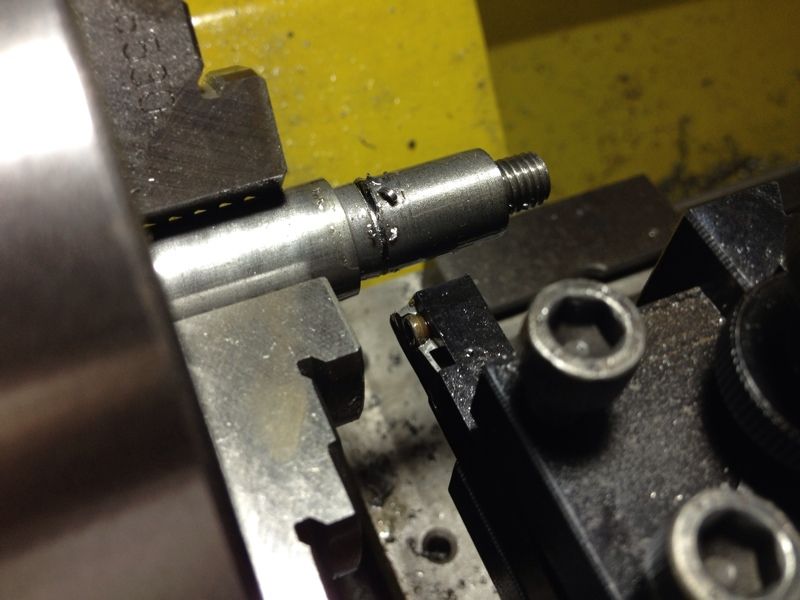 |
| While parting off the workpiece, the HSS parting blade snapped. It was cutting
after a while and snapped when I tried pushing it further. |
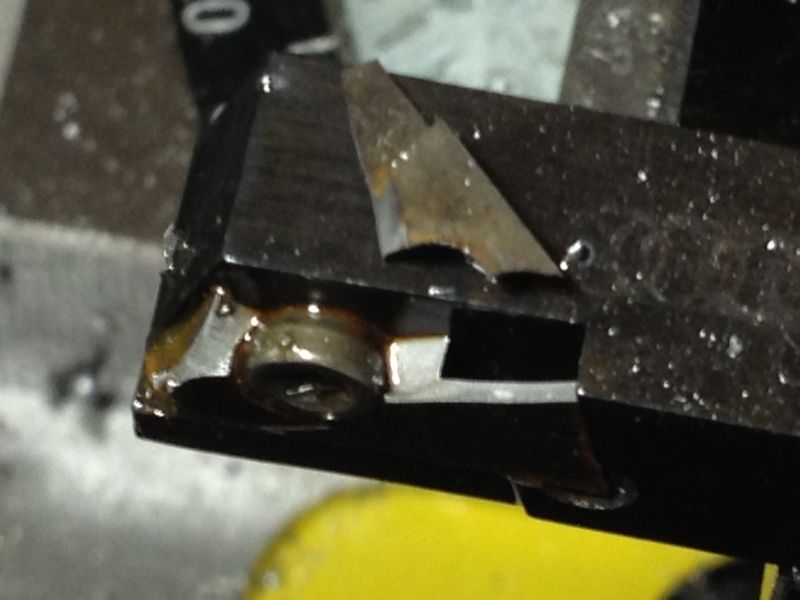 |
| The broken blade. |
 |
| Swapping in the Proxxon part off tool. |
 |
| It does the job without a struggle. |
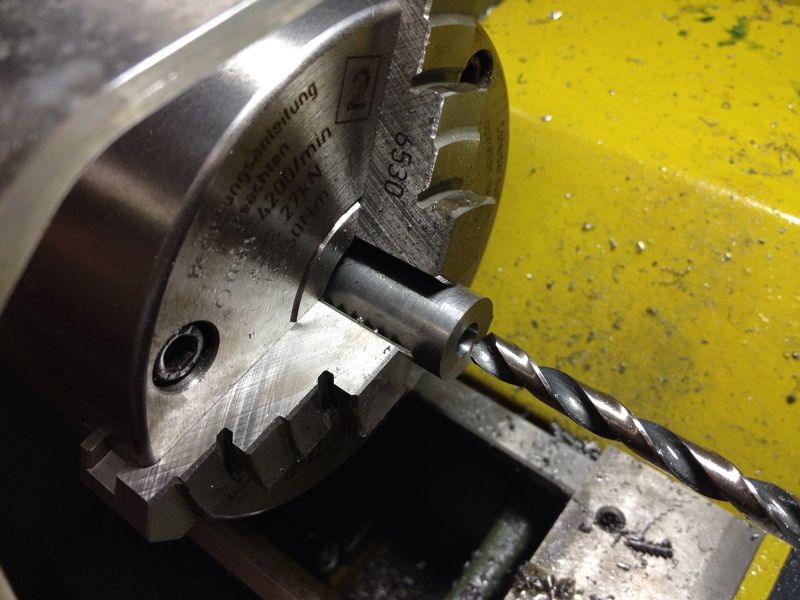 |
| After facing the end flat, I centre drill and drill about 12mm deep for the 5/16 BSF. |
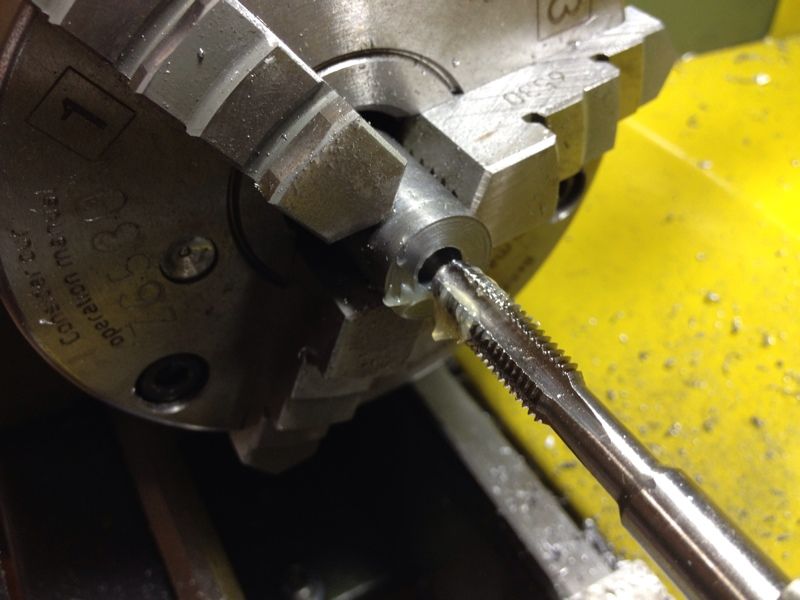 |
| Tapping the hole to hold the 1/2 centre. |
 |
| This was when I cut myself. Notice how close the tool was to the tapping
handle? My hand slipped and my thumb went on to the cutting edge of the tool. |
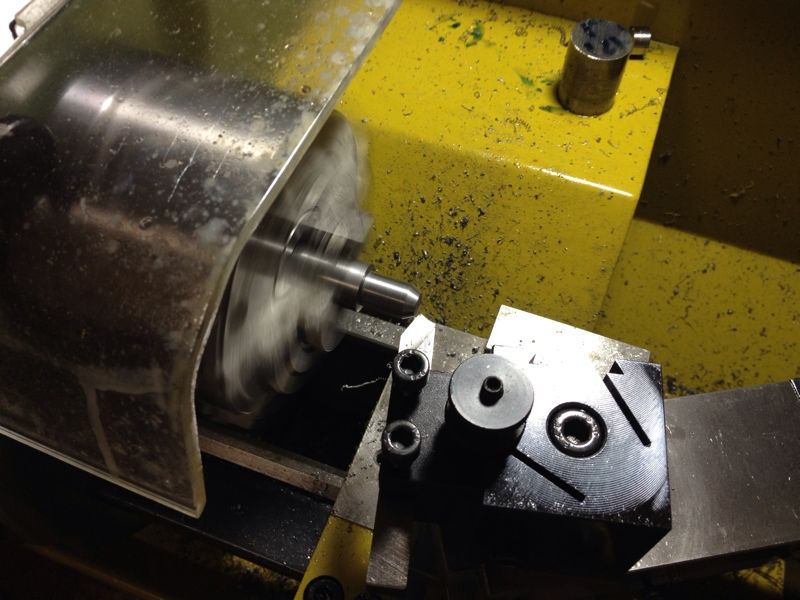 |
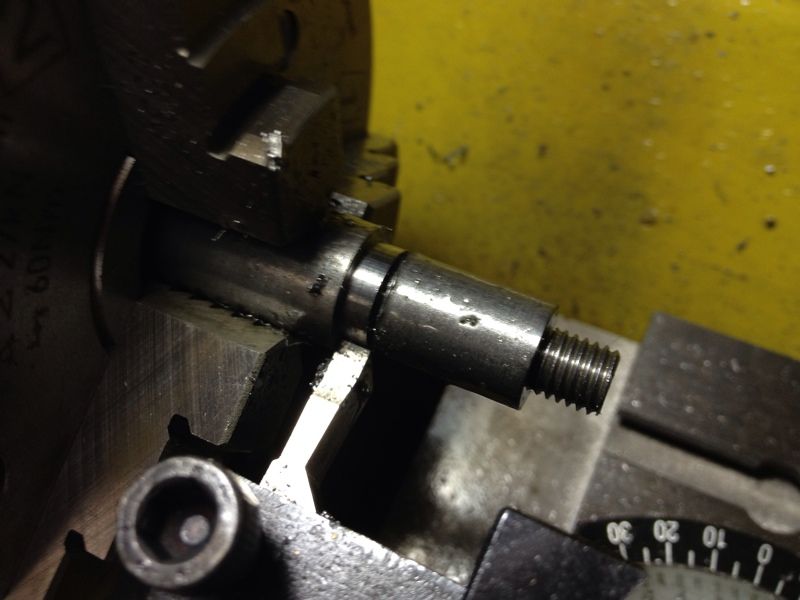
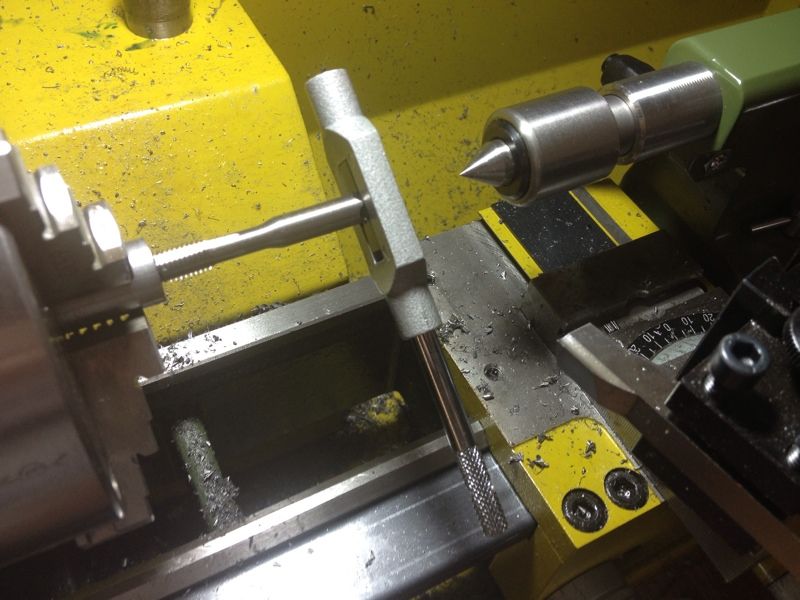
| There was still wobble when I mounted the 1/2 centre to the arbor. I push on this time, facing and turning it |
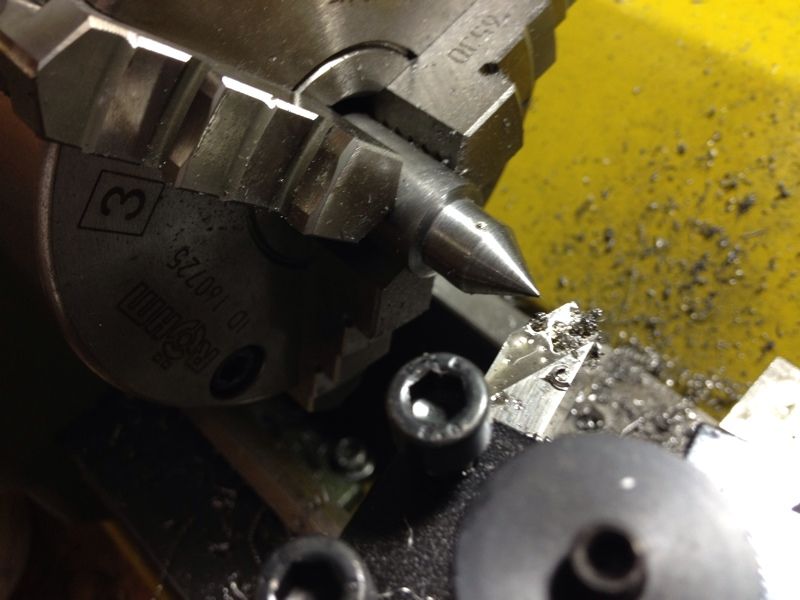 |
| The 60-degree point was completed. Notice that the centre is now tightly
screwed onto the arbor as if they're one piece of steel. |
 |
| After running a smooth file on the face and sanding it down with fine grit sandpaper. |
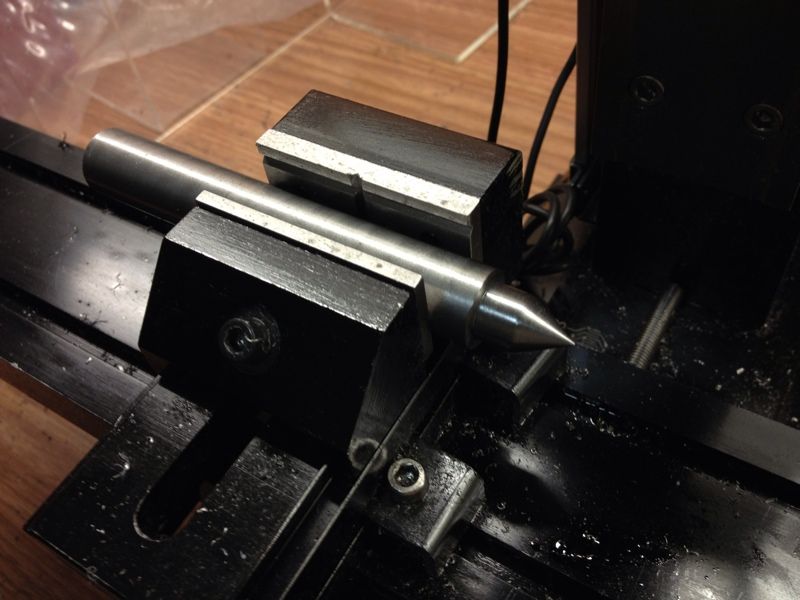 |
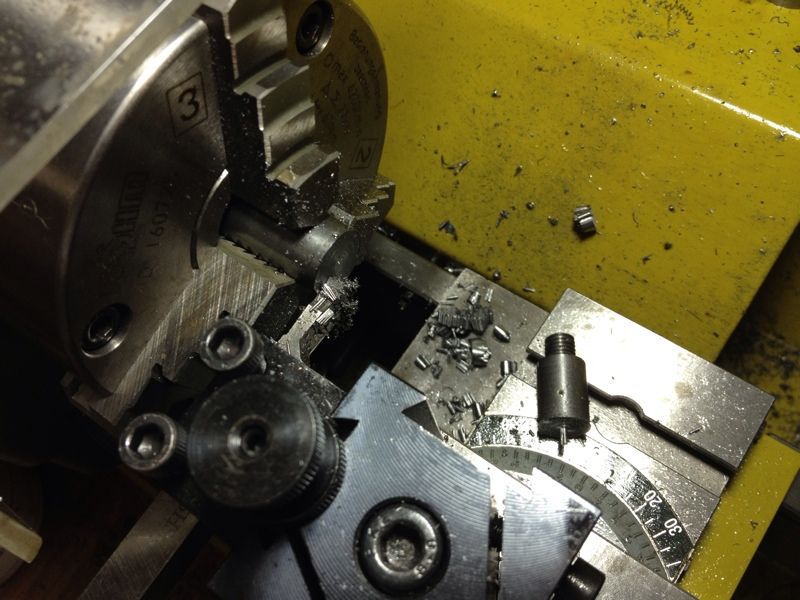
| I fastened it down to the mill vise to prepare to drill the tommy screw hole. |
I stopped work at this point as the wound has started bleeding again. I will try to complete this part of the work tomorrow morning before church. Will also attempt to harden it by using my little Proxxon Micro Torch and quenching it in water.
Have a blessed night.
9 comments:
Hope your finger is alright man!! Be careful!!
Mr Ape,
No big deal. Just a small slice of flesh and some blood. Have to improve my knowledge to avoid this sort of things from happening again. Thank God the fingers are still where they're supposed to be...
Regards,
Wong
Wong, that torch may be a little light weight for heat treating. Two things, when heating the center, keep the flame away from the sharp point and let the heat conduct up to it. The flame could burn the tip and then you would need to grind it back to shape. The other if you have a gas cooking stove you can use the burner on that to help heat the mass of the metal to get it hot enough for hardening.
GeneK
Hello GeneK,
I've just discovered that... I managed to heat it up till it glow all round and dunk it into water. Ran a file and did it again. I left the heat on it to extend the "glowing time" before dunking it again. If I apply light pressure with the file, it seems to bounce off. But a little more force I can see it scrathing the surface...
Looks like I'm going to try it again in my next session.
Regards,
Wong
GeneK,
When the instruction mentioned "heating to cherry red", would that be after the initial orangie glow or it is the orangie glow?
Regards,
Wong
Wong, the most accurate way to tell if the metal is hot enough is use a magnet to test it. When it is hot enough it will have past the Curie point, and will no longer be attracted to a magnet. Then it will harden. Be sure to use plenty of water or oil to quench the part or you you will only heat up the water. Also don't use plastic containers because on larger pieces if they drop into the container they can melt through and spill oil all over the place - very messy.
GeneK
Hi Wongster-slightly off topic this but I have a Proxxon PD400 and just have to say that you seem to have a better chuck than I have. Your's does look like the Rohm version I should have got but mine is a bog-standard 3 jaw? Anyway, loving your site-keep up the good work!
Hello Charlie,
Thanks for your comment.
Indeed I'm blessed to have the Rohm chuck in the package. The 4 jaw Proxxon chuck isn't good though, as you can probably see from one of my posts. I was expecting a Rohm or similar quality as the included 3 jaw chuck. It is a major disappointment, leaving a lousy impression of the Proxxon brand name.
You should see the Proxxon QC tool holders. Some need to be hammered in to seat properly, making adjustments difficult. The word Quick-change for Proxxon has now a new definition - Quirky Change... Lolz.
Do show your experience and work on the Proxxon. Too little owners online that can talk to each other.
Regards,
Wong
Charlie,
Sorry. Meant to say "share your experience..."
Fat fingers on the iPhone...
Regards,
Wong
Post a Comment