Tuesday, August 31, 2010

My Home Shop

It had been a hectic month at work but it all ended today with the close of the month.  Thought I would have some time to spare in my shop and was happily planning to complete the QCTP holder.  But some household chores got in the way, eating away precious shop time.

Since no time was spent in the shop, I've put up some pics of how my converted study looks like.

Before... Quite a mess...

 
Finalised drawings from my friend who is a contractor.


Bench area for PC, drill press & laying out.


Bench space for the machines
The mill & lathe in place
It is very much in a mess now than shown in this pic

My attempt in making tool holders for A2Z QCTP - Milling the dovetail

This session was about 4 hours long last Saturday started around 10pm.

I spread a layer of blue acrylic paint over the surface so as to mark the slot to be milled. As this is my first attempt in milling the slot and the dovetail, I play it safe by cutting off a small chunk of stock sufficient to make 2 holders. The layout lines were scribed on using my newly acquired digital height gauge. The height gauge was Taiwanese made that is within my budget. It cost me SGD260 from Nanyang Instrument & Machinery Pte Ltd located in Jalan Besar Plaza. The Mitutoyo gauge which I initially wanted is priced at around SGD900. I trust Mitutoyo more as my vernier caliper and micrometer always return to zero when the jaws are closed. Not true for this Taiwanese gauge. It always go back to either 0.1mm or -0.1mm.

I use the Proxxon centre finder bought from Mike of sgTooling to locate the bottom left corner and "dial" in from there using Mach3 MDI (I do not have handwheels on my mill and have been using XBox360 controller to move the axes). One side of the slot was milled first to full depth and I side mill from there till I reached the opposite edge.

The dovetail was done next. This is much easier than I thought. Now that the dovetail is done, I'll do the cleaning up and drilling / tapping of the set screw holes and the slot for holding the tool in the next session.  I'm hoping that next session will be SOON...

Some pics below on what was done so far:


After cleaning up the sides


Milling the slot for dovetailing later


Love the look of this


One side of the dovetail done  


Dovetail completed


Nice...


Test fitting on the A2ZCNC QCTP


Comparing with the original  


Slicing it up to size 


The gap looks kinda big when the lever is locked


When I measure the gap after locking the holder down, it seems to be almost the same as the original piece from A2Z.  Could it be the colour playing tricks to my eyes?
 
I'll be cleaning up the rough cut edge, drill, and tap the holes for the set screws.  Don't know if I should turn my own brass nut to use as the stop or try to find something similar.  Maybe I should try different options since I've sufficient blanks to create many pieces to fool around with.

Sunday, August 29, 2010

My attempt in making tool holders for A2Z QCTP - Preparing the stock

I've in my stash bin a big piece of aluminium of unknown composition, though I asked for T6061 during the purchase.  I started by cutting it roughly to size using my Proxxon band saw.

This is a painfully long process on this mini band saw.  But I finally get to the end of this 150mm piece.


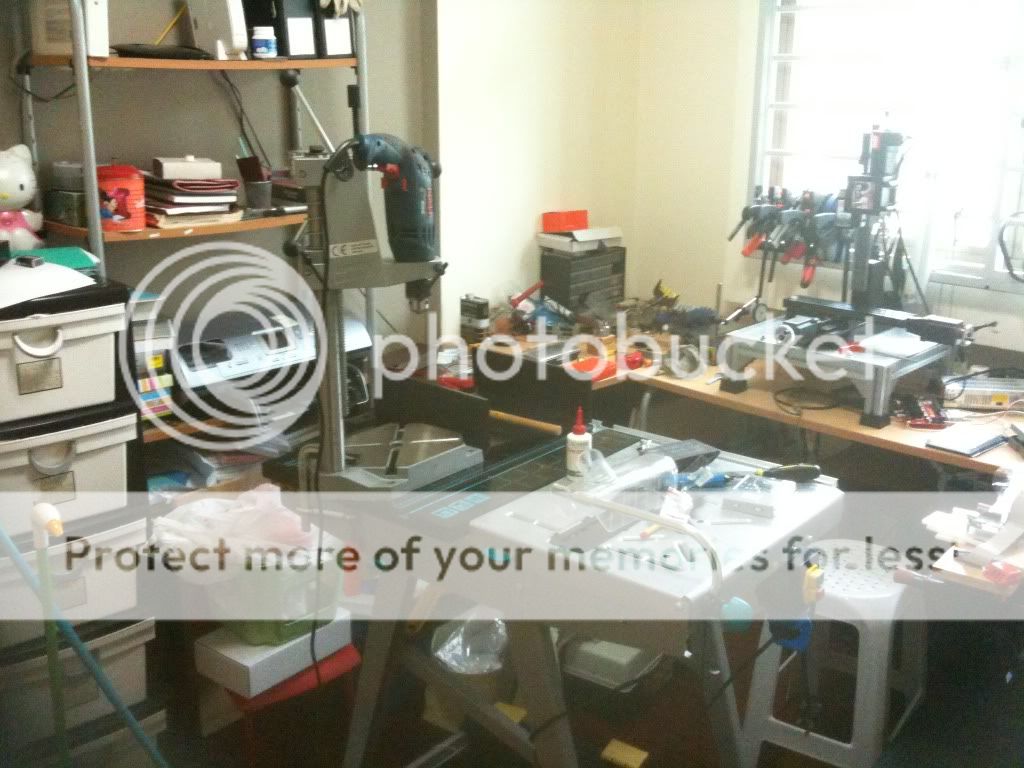
The plywood base was added as the aluminium table that came with the band saw is a little too small for my use.  It measures 200mm x 200mm only.

I made a mistake when Installing the plywood base. The grain should be along the line of cut rather than across.  I'll be more careful with my next one.


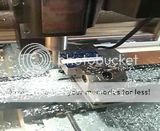
The 2 long sides were then fly cut and I left the 2 shorter side till I bring the thickness of the block to the required 3/4" (19.05mm).  Main reason for this is, the longest end mill I own has DOC (depth of cut) of 3/4".  This was when disaster struck; the surface of the block being fly cut indicated to me that my mill is out of square.


May not be obvious from this pic but there were ridges on the surface that can felt by running your fingers over it.


This forced me to re-tram the mill again.  I took the opportunity to do some general cleaning while dismantling the entire mill.  This is a painful process.  It took me quite a few hours to get this right.  But it is an effort worth making.

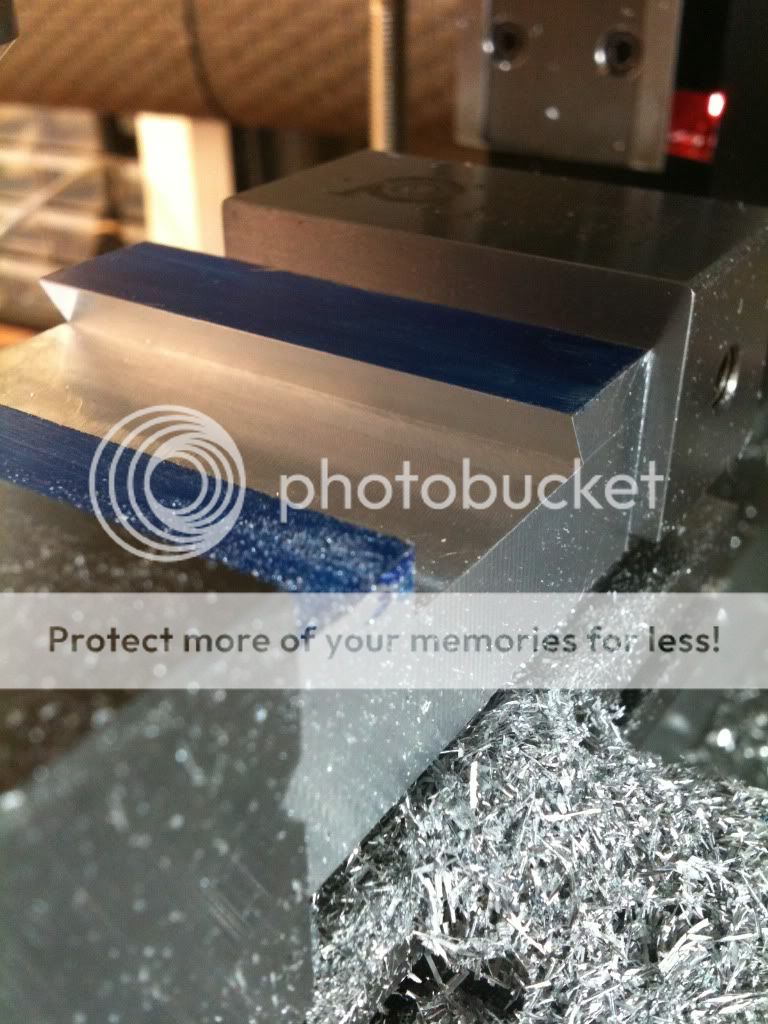
Once done, I resume work with fly cutting and I'm able to get to 0.02mm in accuracy over the length of 150mm.  The stock is now in its required size ready for its next operation - milling of the slot before cutting the dovetail.

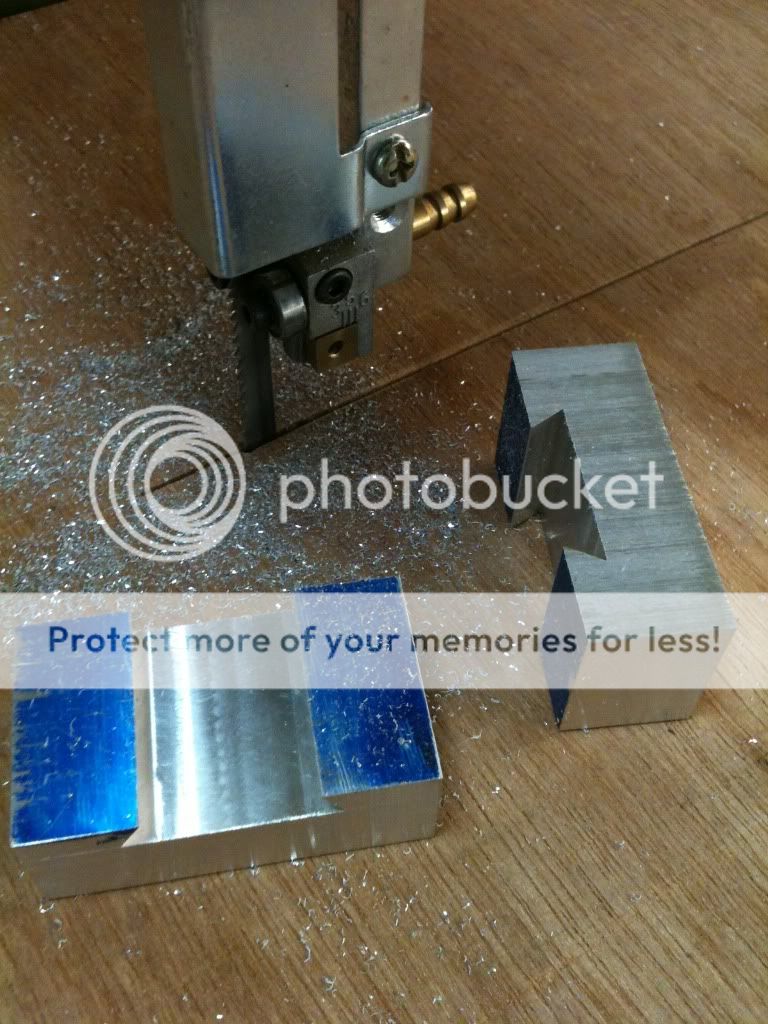
Since this is my first attempt in making tool holders as well as using a dovetail cutter, I decided to cut out a small section from the stock, sufficient to make 2 holders.  This is to prevent screwing up the whole piece.


This piece is enough to make 2 holders.  Ready to clean up the rough edge after sawing off on a band saw.


After some side milling to clean up the saw edge.


In my next instalment, I'll be talking about milling out the slot before cutting the dovetail.

My attempt in making tool holders for A2Z QCTP - Dovetail cutter

Ever since I signed up with Madmodder.net, I've always wanted to make myself some tool holders to use with my QCTP from A2ZCNC. But I've also worried about not being able to cut out the dovetail right. It was not till a kind gentleman and a good friend from Ireland, Hamilton, bought for me a 4mm boring bar that set me in action. The 4mm boring bar is so tiny that none of what I've on hand can be used to hold it. And so I promised myself (among the many time I promised myself to do...) to really get to work this time. But action only started a couple of months after...

I picked up a block of aluminium I bought a while back and started to make plans of what I need to do from the few posts I found online. I ordered a 60 degree dovetail cutter from Sherline through their trusty distributor in Singapore but was told that it will take around 2 weeks to reach me. And so I went around shops asking if they've one available that I can use. I need one that has a shank of not more than 10mm and the width of the dovetail not more than 3/4" (19.05mm). All I found was minimum shank size of 12mm with dovetail width of 25.4mm. A kind gentleman from Madmodder.net pointed me to a shop in Singapore that sells Dormer's products. I picked up one dovetail cutter with 12mm shank (that's the smallest they have) and 3/4" dovetail. While I was there, I also bought countersink cutters of 2 different sizes.

When I got back, I mounted the dovetail cutter between centres and started turning down the shank from 12mm to 10mm. The entire operation was successful with no foul up. I was glad, very glad...

Some pics of the process:

Believe or not.  This is my first time using the surface plate with the dog.


Turned a little too much than the target 10mm.


Test fit in the ER16 10mm collet.  The grip seems tight enough with no visible run-out.


That's all for now.  My next post will be on the preparation of the stock for the holder.  I've some aluminium blocks 25mm thick.

New Beginning

Well, it is not exactly a new beginning.  I've been wanting to put what I am doing and did online to track my progress into the relatively new hobby of mine - metalworking.

A little intro is in order I guess.

I started getting interested in metalworking a year odd ago when I was searching for a solution to etch circuit board.  I was trying to learn electronics by building various silly circuits like LED Dice.  The basic theory which I learned in school was "returned" to my teachers many years ago and I thought that learning by doing helps to keep it interesting.  My first circuit was very crudely made with lots of wires running around.  So I thought of etching my own board to make it neater.  Too bad I couldn't find anyone willing to sell me etchant due to some controls in the country.

The idea of cutting out traces came in mind and I ran out to purchase a dremel rotary tool.  The attempts in milling out traces by hand with the tool failed badly.  Further search online led me to CNC machines which I went on a big round before settling to purchase my first CNC-ready mill - The Sherline 5410.  Stepper motors, control drive, and softwares were shipped in.  The rest are history.

I'll start this blog with what I did (failure and success), things I bought along the way, and things I'm working on ever so slowly due to lack of time and space.

That's all for now.