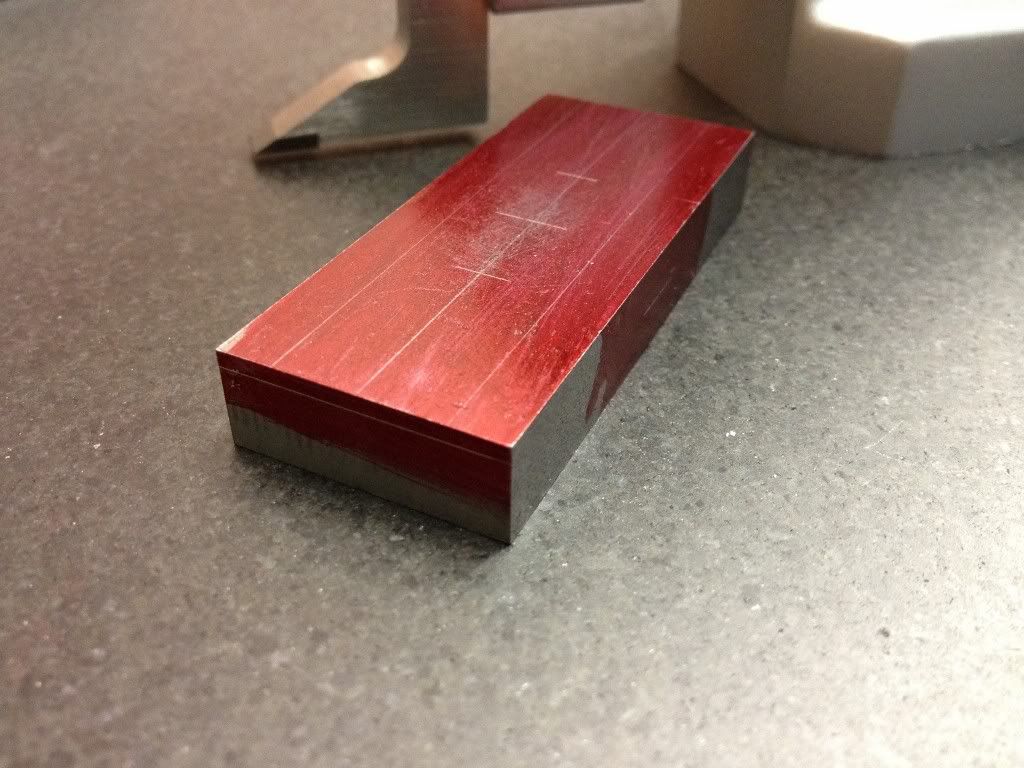
Like most of the little projects I did, I've the drawings drawn on my notebook as 3D models so that I can visualise how things fit together. The raw materials were cleaned up and cut to size to prepare for marking.
Enough of writing. Time for pics...
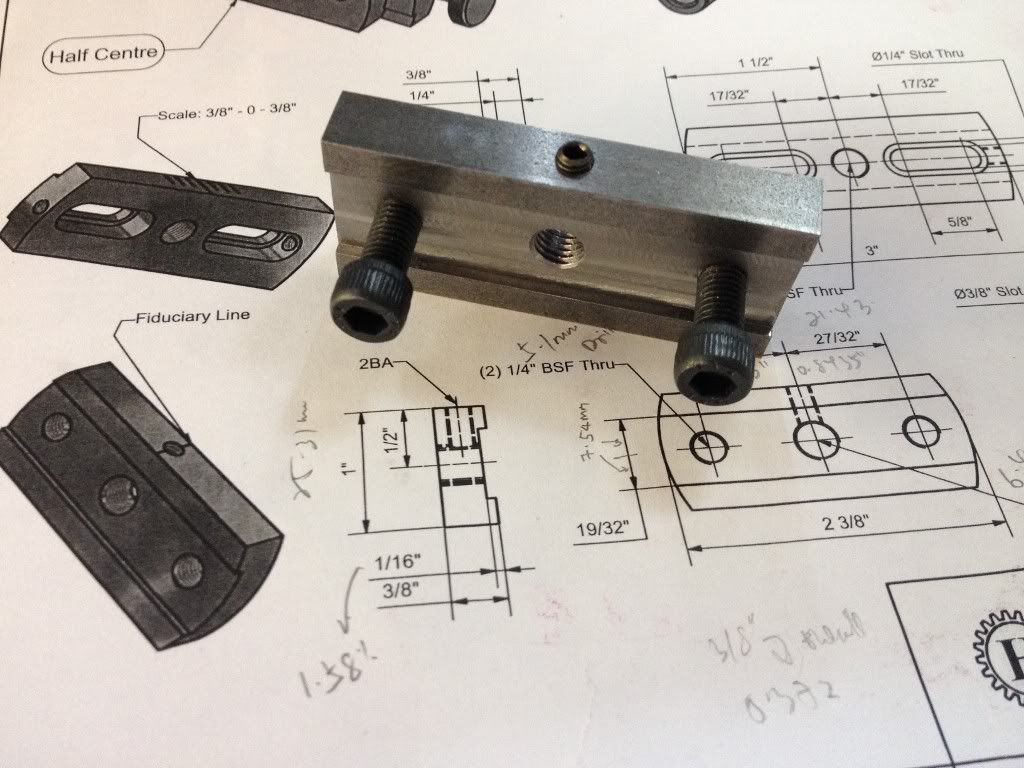
The Slide
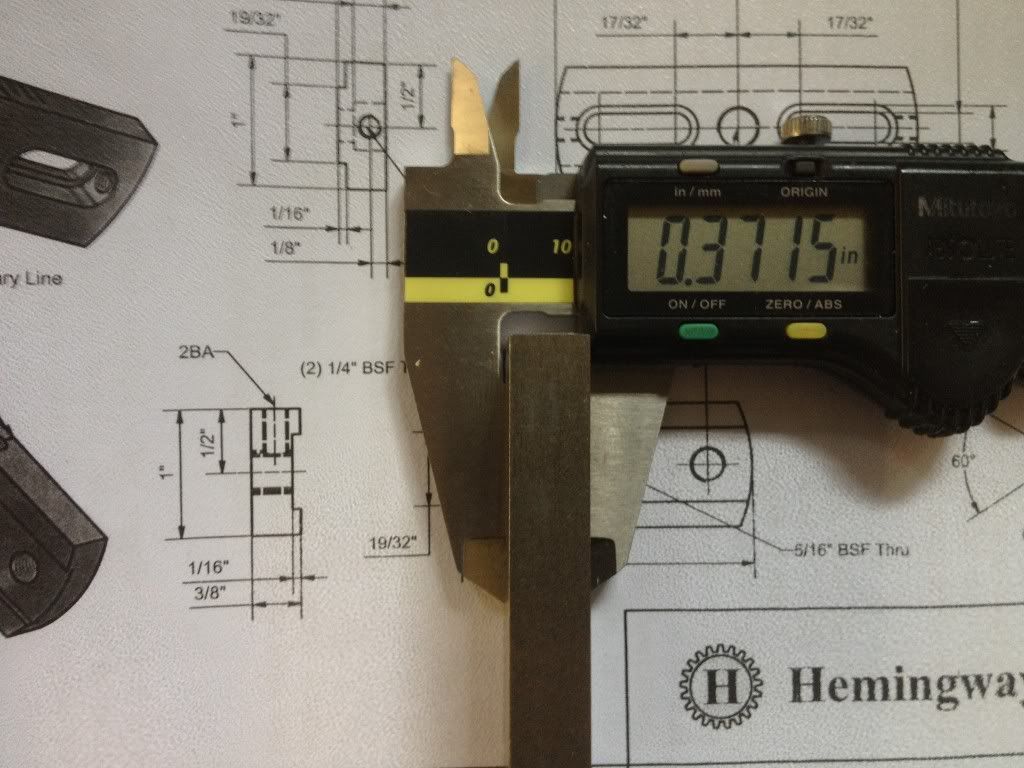 |
| I measure the thickness of the steel stock and realised that it is not the 3/8" as shown in the drawing. Same goes for the width, which is narrower than the 1" dimension given in the drawing. I supposed these are not critical. |
 |
| Cleaning one side of the stock to use as reference. |
 |
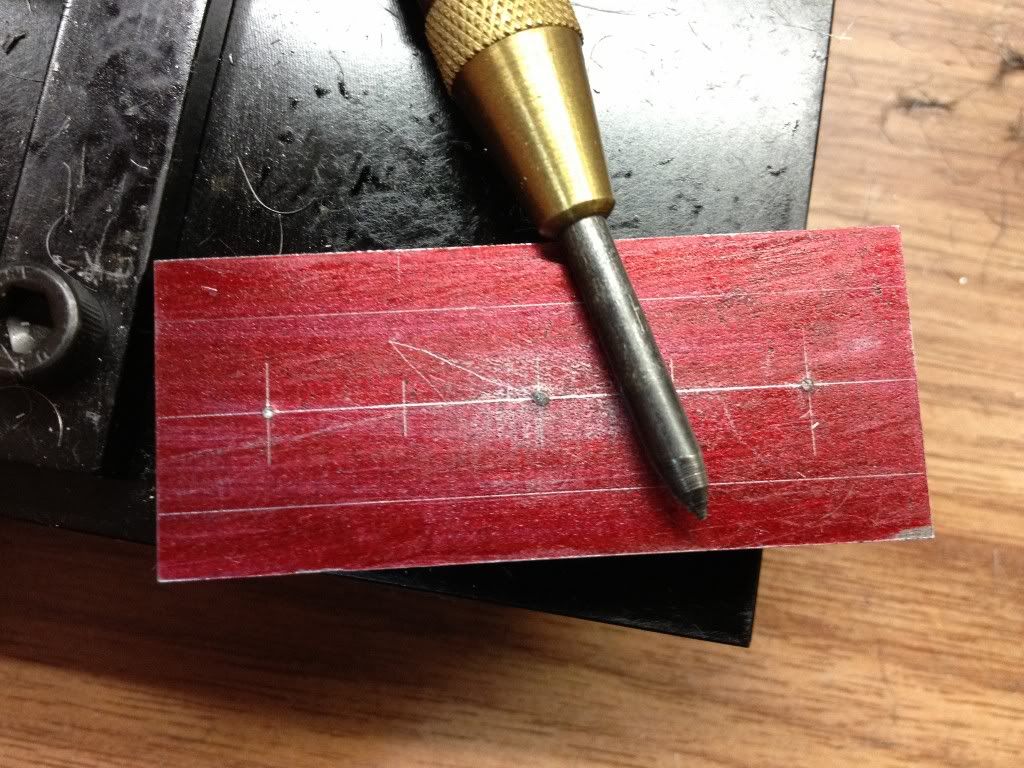
| Marking out the other end to mill stock to length. This was the maiden "scribe" by my brand new Mitutoyo Height Gage. |
 |
| I can't be more than happy with what I see on the caliper. This is important to me as I've not been able to "hit the mark" on the mill since I started the hobby. Hoping to see more accurate work! |
 |
| Marking out the holes and the area to be milled. I used the permanent marker as "layout fluid". Tried shipping in Dykem but my order was held in US and can't be shipped. |
 |
| Need to improve on using the punch. Would the optical punch help? Tried correcting by "moving" the punch marks as shown in some YouTube vids - not much of an improvement. |
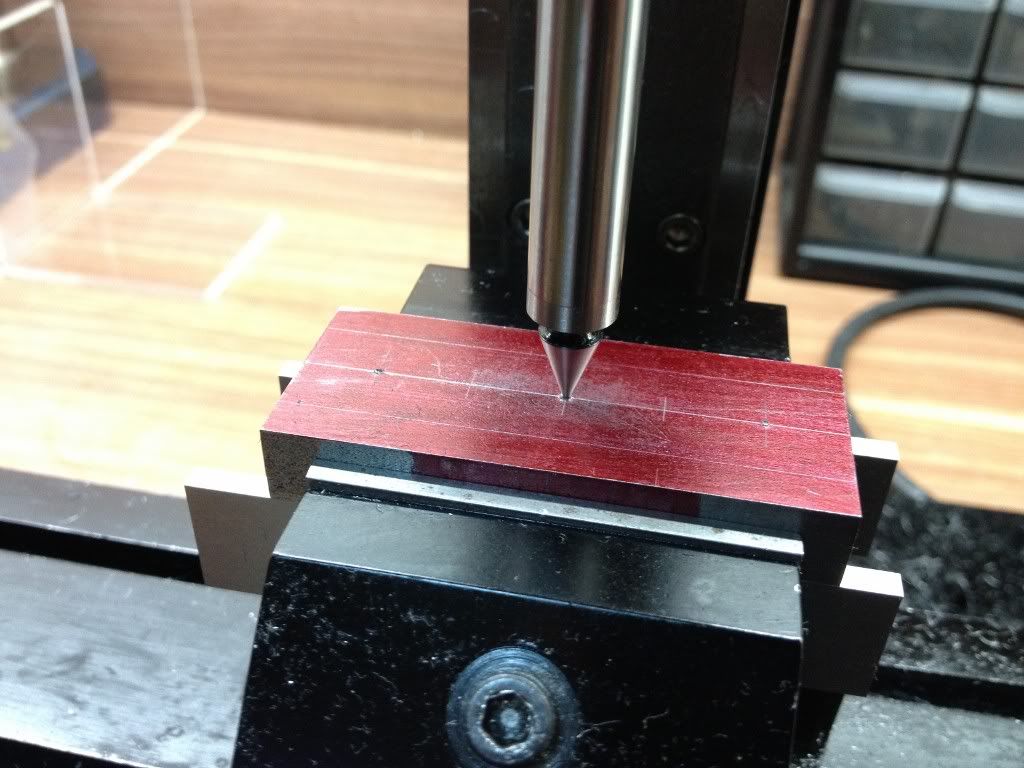 |
| I was wondering if I should use the edge to move to the centre mark but decided to try using the Mitutoyo Centre Finder. Not really sure of how to use it though. With the point in the punch mark, I adjusted the handwheels on both the horizontal axes till I feel the Centre Finder smooth at the moving part. Anyone can share how this is to be used? |
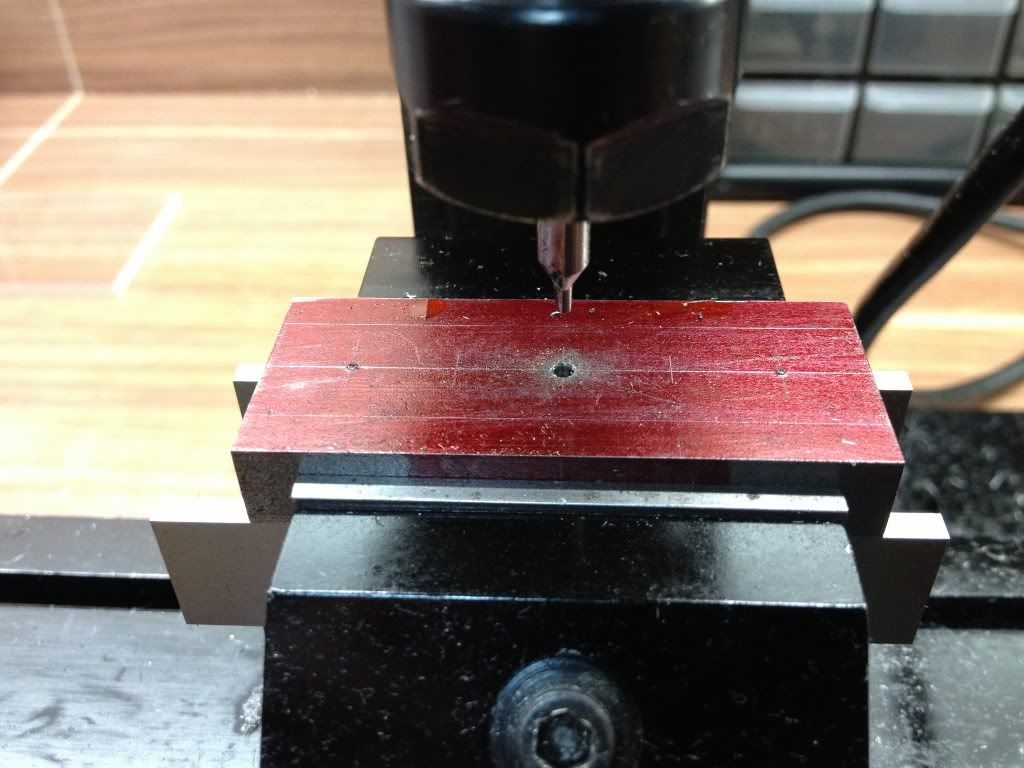 |
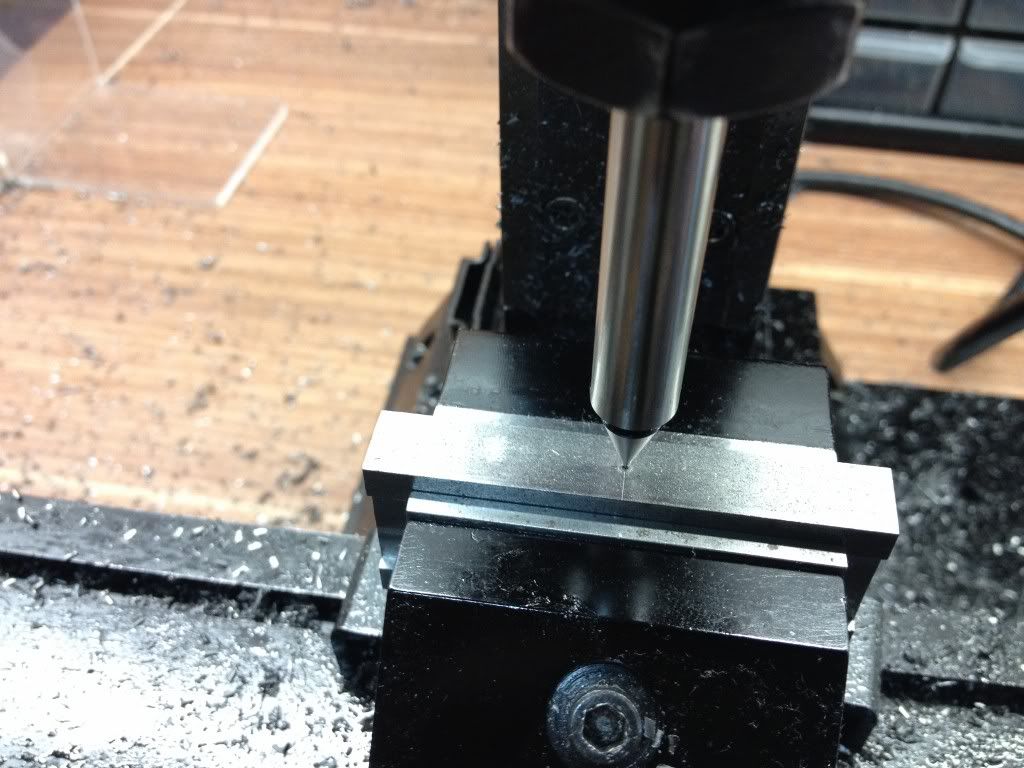
| Centre drill... |
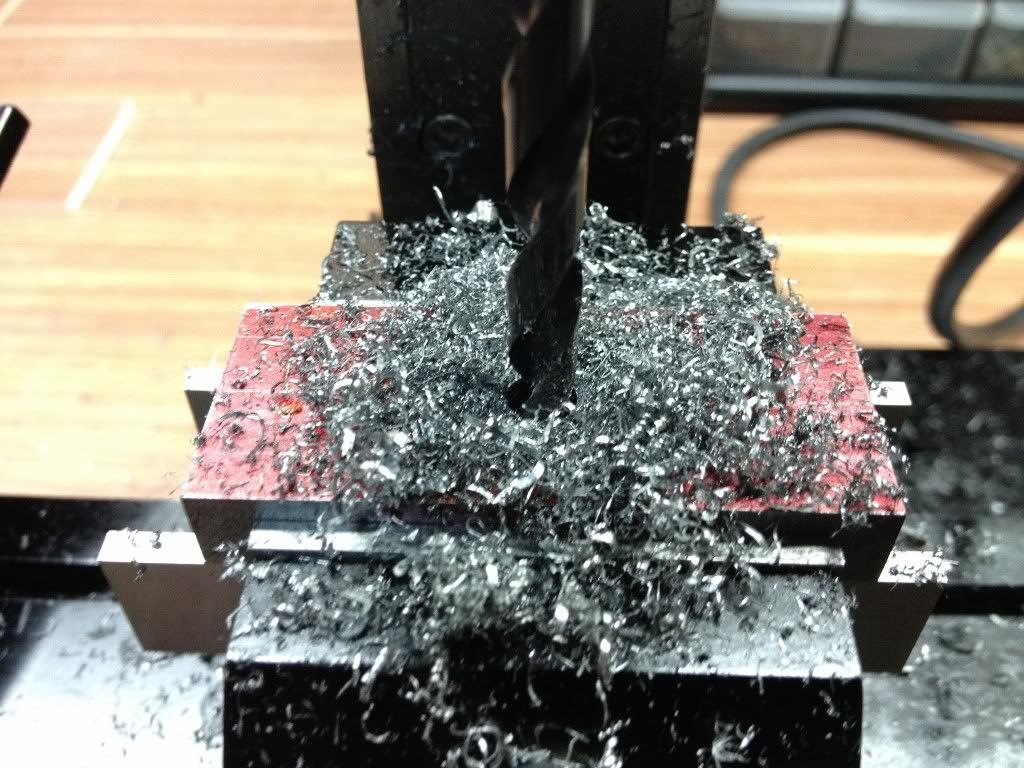 |
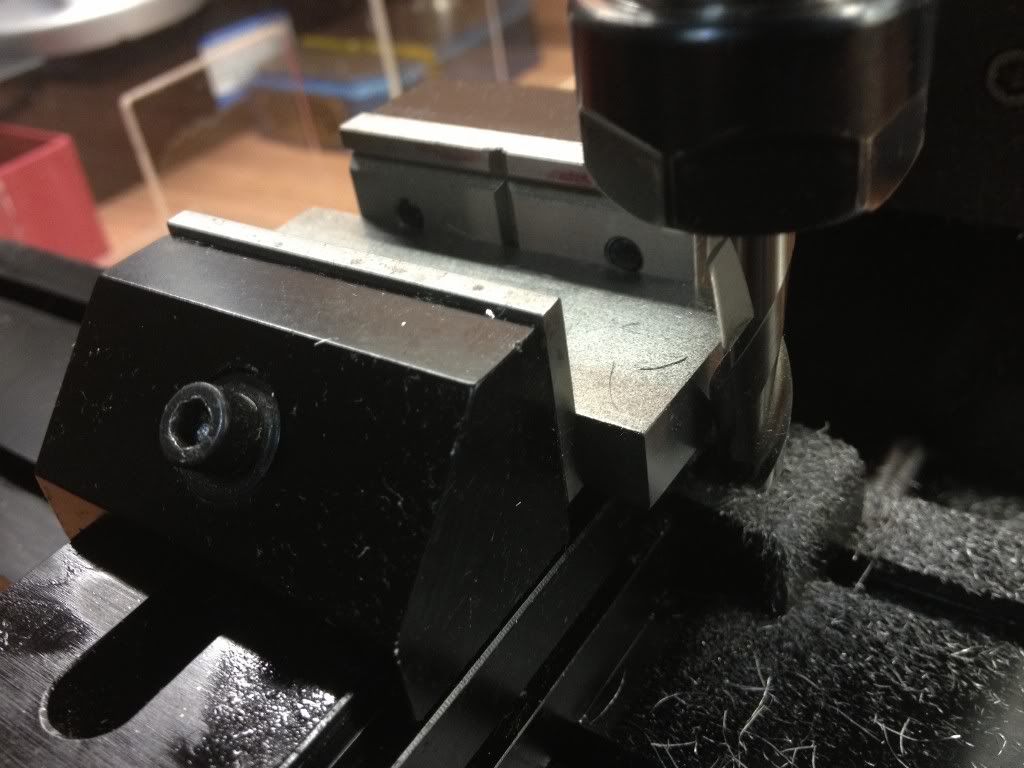
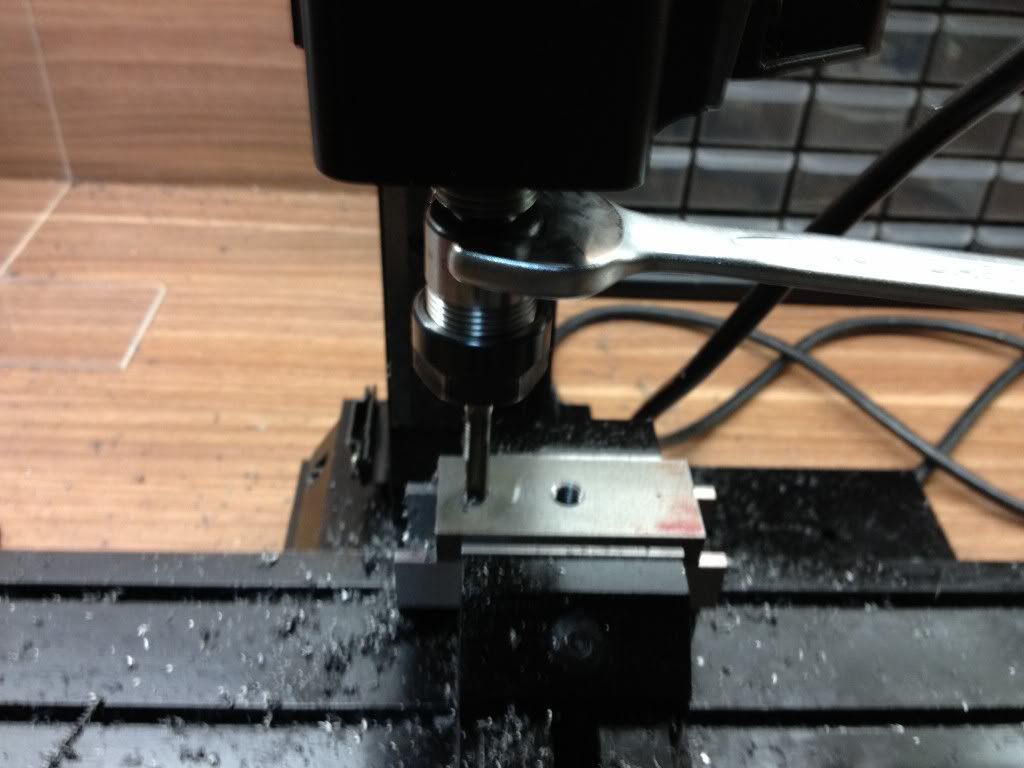
| Drilling with 6.4mm drill for 5/16" BSF. Took quite a while to drill through. There was quite some vibration felt during the process, prompting me to reduce spindle speed and ease the feed. |
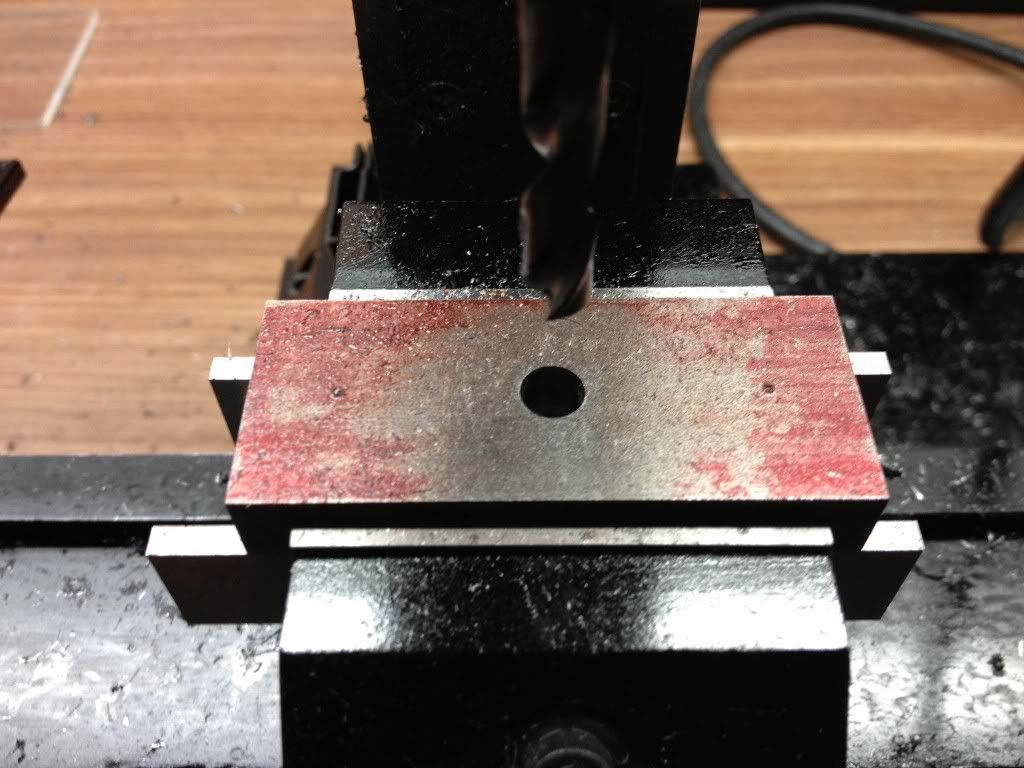 |
| Hole done. Not very round isn't it... |
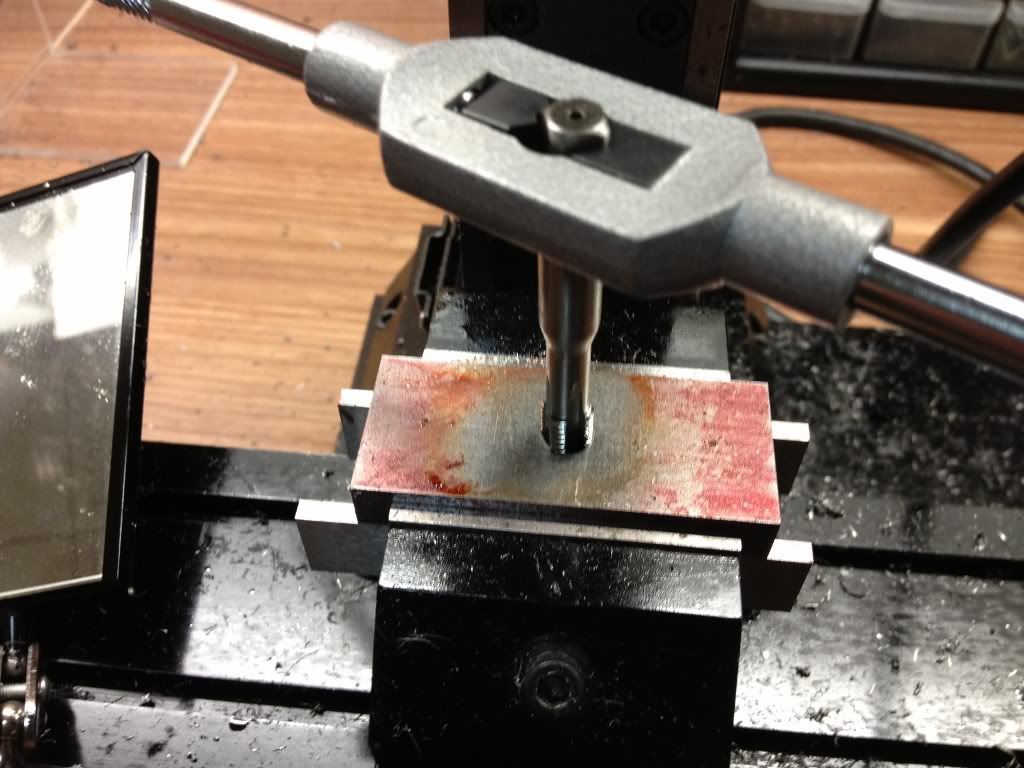 |
| Tapping the hole. The spindle with a dead centre was used to start the thread. |
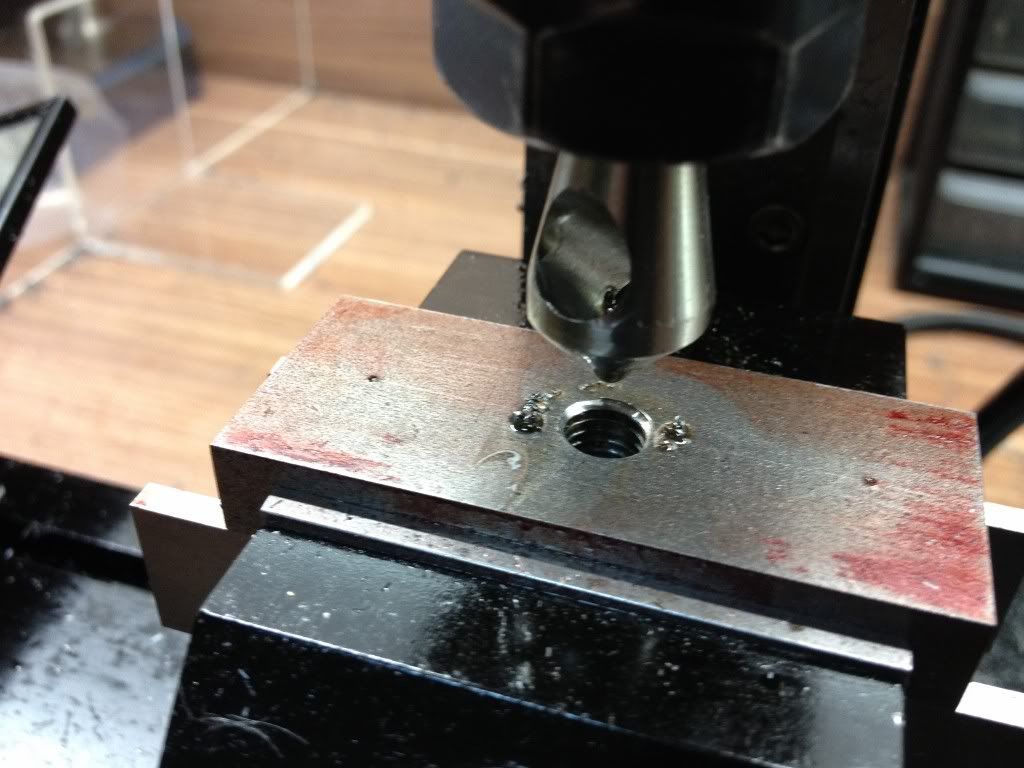 |
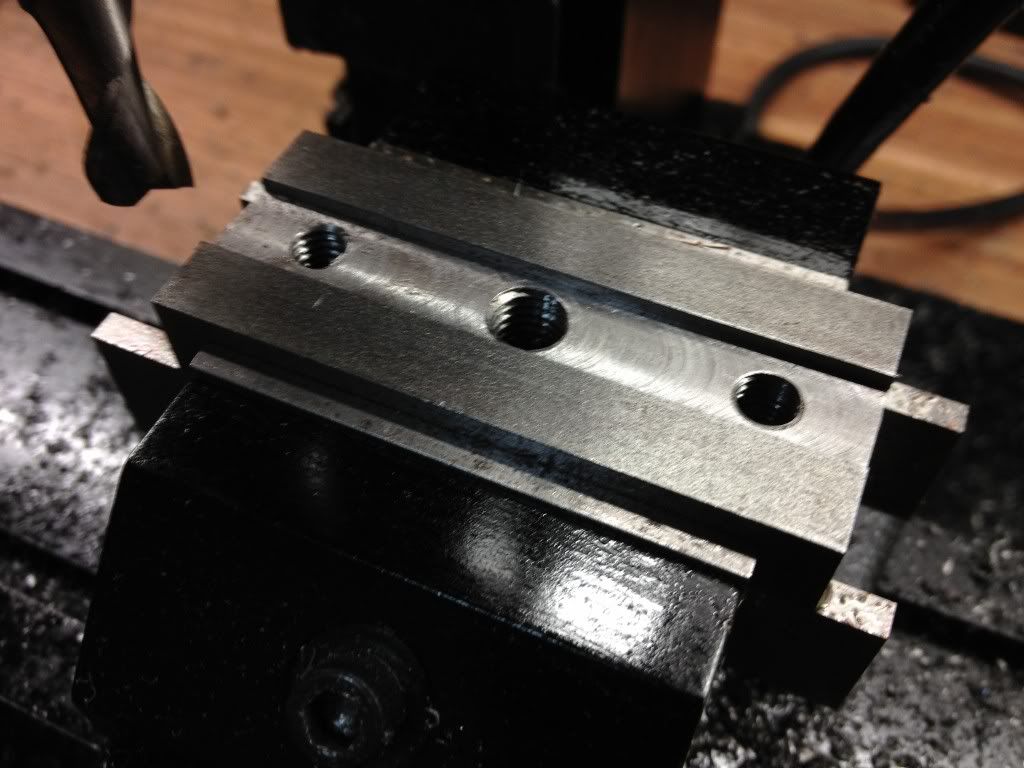
| Countersink used to deburr the threaded hole. Should I be doing this before tapping?After finishing with the centre hole, I moved along X axis on both side of it for the 2 1/4" BSF tap holes. The 1/4" BSF tap doesn't have a hole at the end of its shank. So it went into the ER16 collet held in the spindle as guide. |
 |
| The Z axis was lowered while the tap was turned using a wrench on the collet chuck. |
 |
| Thread done and tested with a 1/4" BSF cap screw that came with the kit. I don't have anything BSF at home to test the 5/16" BSF though. It is meant for the threaded end of the half centre. |
 |
| The surface was then cleaned of chips and oil. I redid the layout of the recessed area as the dye of the marker was washed away by the cutting oil. |
 |
| I was a little nervous when milling the recess. My last work in steel making the flycutter was quite a painful one; the Sherline mill vibrated like no tomorrow and it was really loud! |
 |
| It wasn't that bad this round. Each pass was only 0.2mm deep. After reaching the final depth of the recess (1/16"), the slot mill was moved to open up the slot above and below the centre line at full depth but with rather slow feed and speed. Conventional milling was used. |
 |
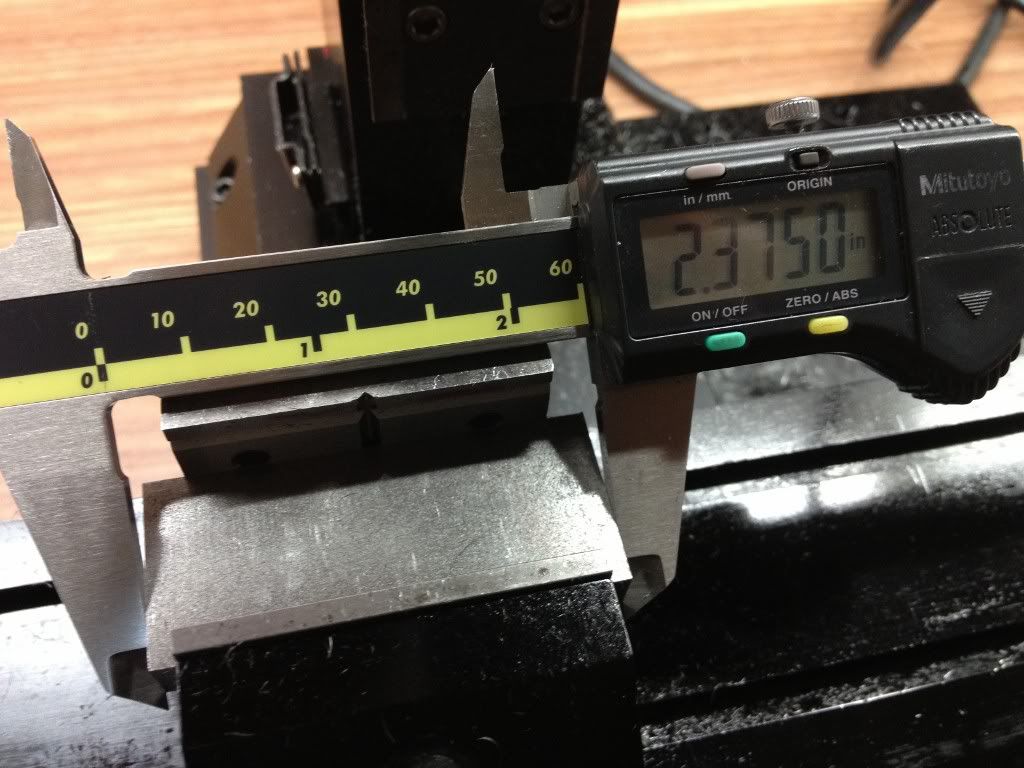
| The recess completed. I measured the slots and found that I've one end at 15mm while the other end is at the correct width of 15.08mm. Is my horizontal axes not perpendicular to each other? Also, I went 0.07mm to deep though I dialed in the correct amount. I'll do the adjustments when making the Base. |
 |
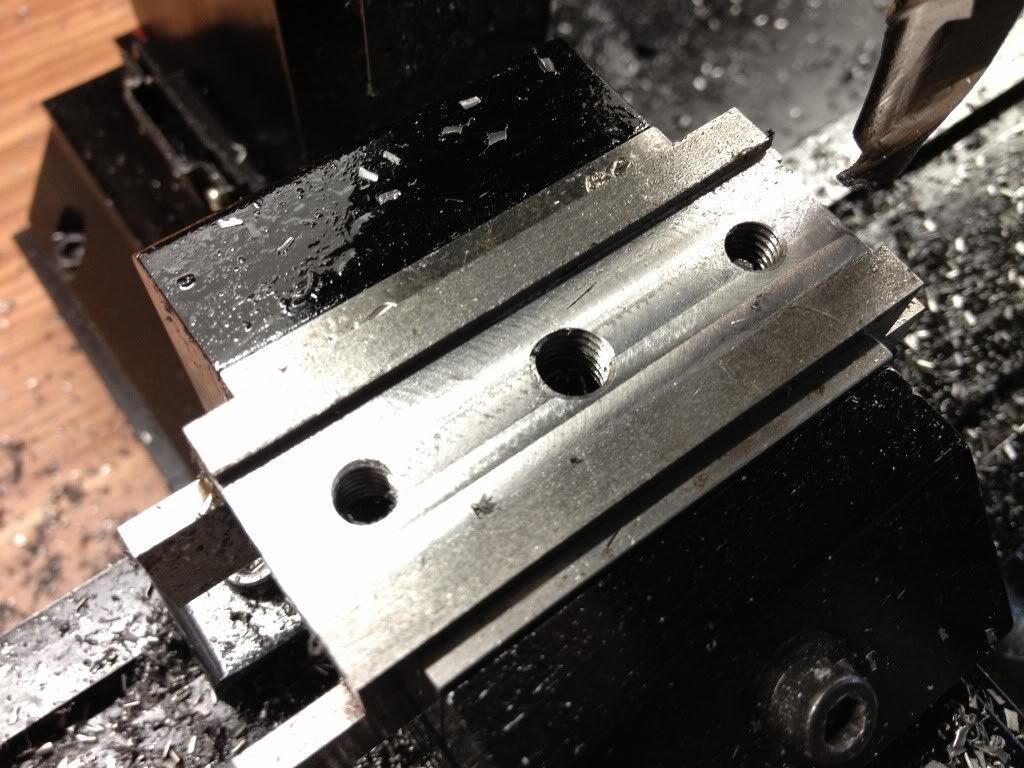
| The top was drilled and tapped for 2BA setscrew, right to the 5/16" thread hole. |
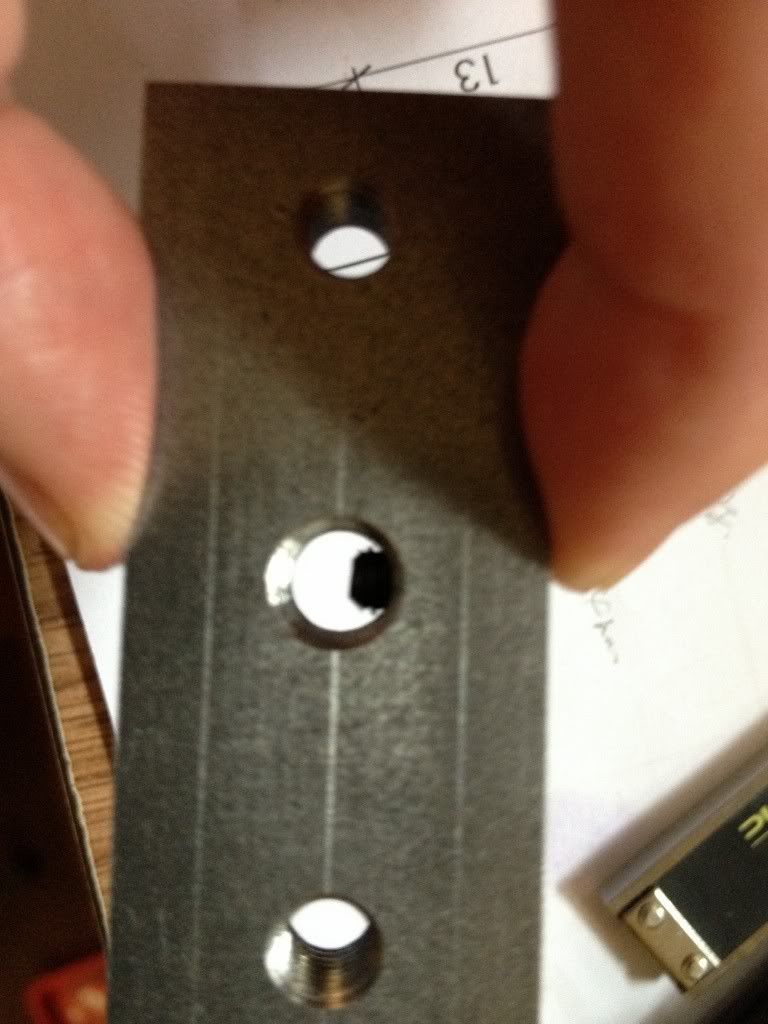 |
| The setscrew installed. You can see that it is not exactly at the centre of the 5/16" thread hole. Don't think this will cause problem. |
 |
| The Slide is now completed. I may not want to mill the radius at the 2 ends of both the Slide and Base to simplify the build. Maye I should, to learn how this should be done. |
I'll work on the Base in my next session in the shop. One question which I would like to ask. The 2MT arbor needs to be machined and thread 5/16" BSF. I'm scratching my head thinking through how I should be holding the arbor. The Proxxon lathe has a 3MT in the spindle. My Sherline lathe has 1MT. Do I hold it between centre?
2 comments:
Hello
Yes I like the optical center. Line it up, use a very light hammer tap and check again.
If the mark is off it is easier to move if the mark is small and light. Deepen it when satisfied.
If the work is small the optical punch is hard to use.
I like to use a prick punch before using the center punch, smaller mark and eaier to move.
My shop instructor taught that us to do the layout for the holes etc.
Then mount the blank so it is accuratly aligned on the table in x and y.
Pick up the edges with an egde finder and then use the dials or DRO the move to the location for the hole.
No center punch use the layout lines for a sanity check. Use the center drill to just touch the blank and
check again then drill with the center drill. Much more accurate.
He also taught us to put layout dye only where we needed it so layout marks were more visible.
I don't always follow his advise on this.
Glenn
Slide hammer prick punch
http://bbs.homeshopmachinist.net/showthread.php?t=25316
I also find the automatic center punchs are less accurate for me. I think I don't end up pushing straight down.
Glenn
Post a Comment