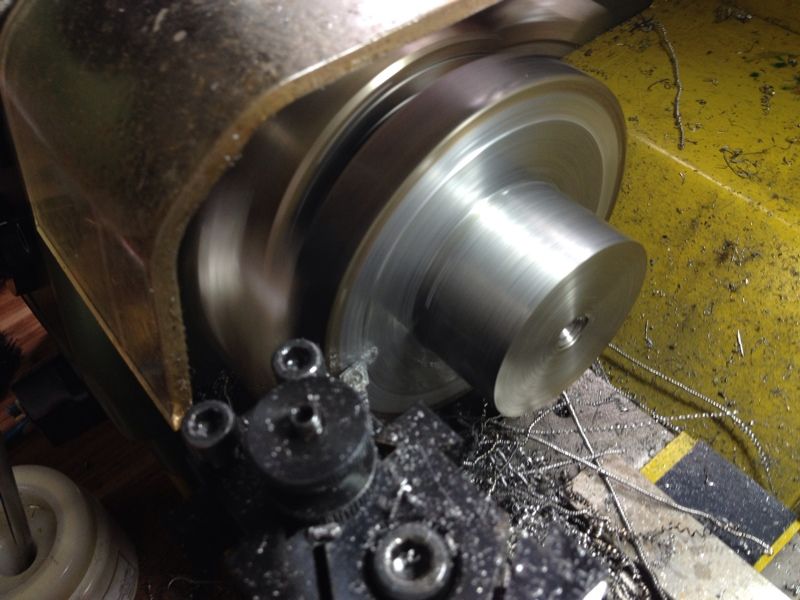
Another short session today of about an hour to an hour and a half. The nose is now down to slightly below 50mm in diameter after "smoothening" out the surface. The spindle was bumped up to 660 rpm with very light cut using the Sherline's carbide insert tool. The tip on this tool has radius of 0.4mm. The result was great! The flange was also squared up and finished with the same method. I realised that I've to lock down the carriage to produce a decent finish when face turning. Also, I discovered that having a small relief angle between the edge of the insert and the work helps in the finish.
 |
| Facing the flange to square it up. |
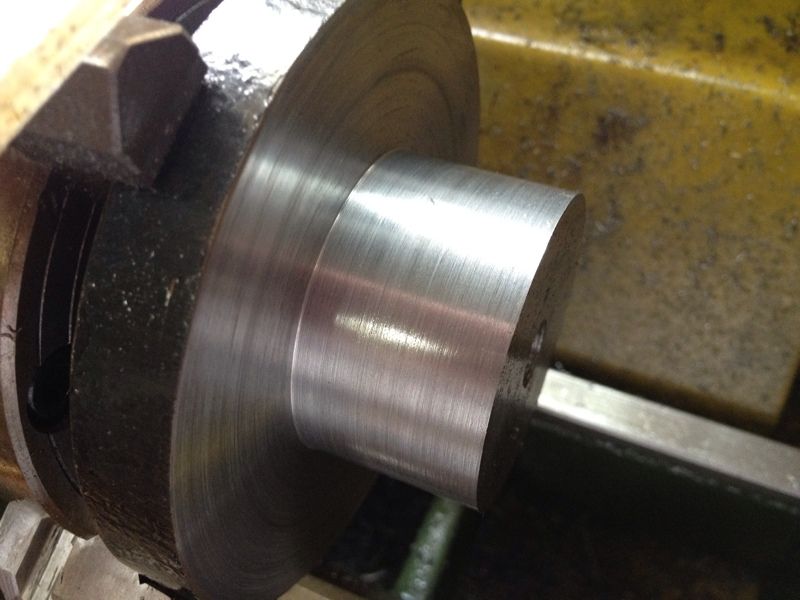 |
| The surfaces feel smooth to the touch despite how they look. |
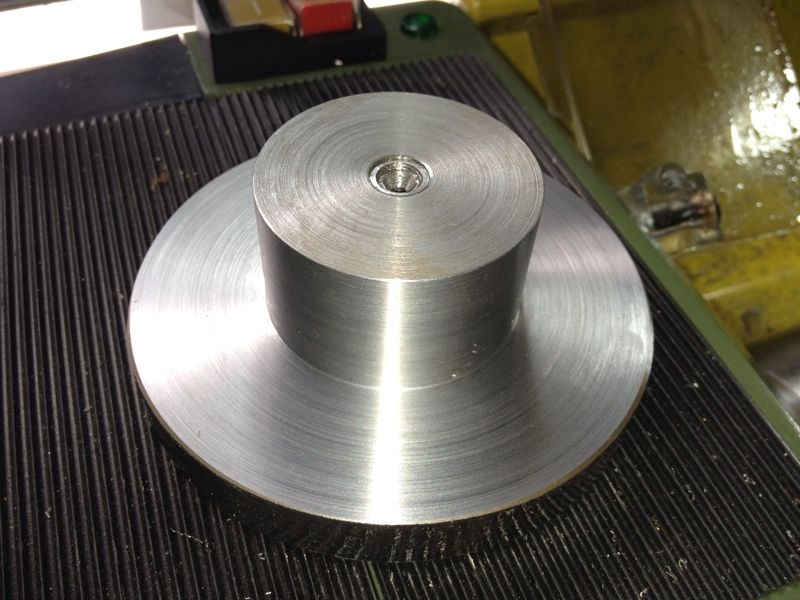 |
| From another angle. Should have smoothen out he face of the nose just for the fun of it. |
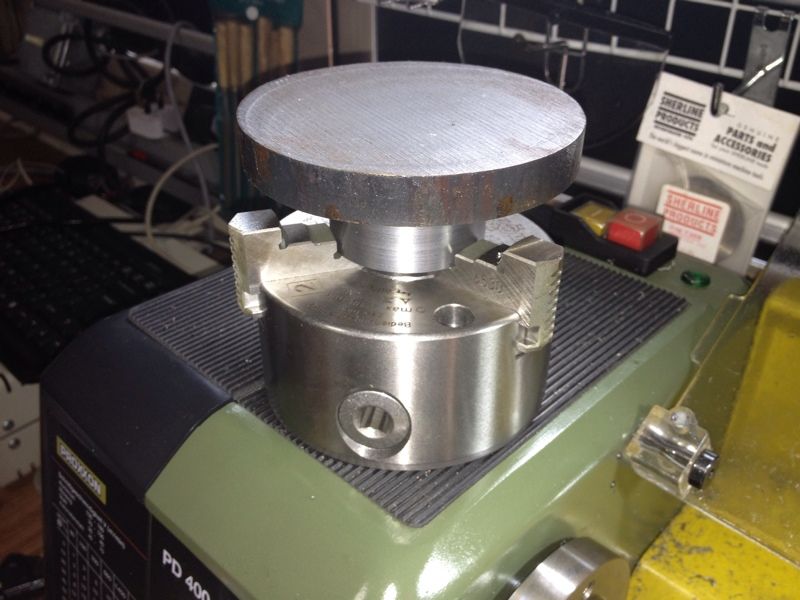 |
| Wanted to drill through the centre of the work but changed my mind. I mounted it in the 3 jaw chuck by the nose to see if I've enough clearance from the jaws to drill through. This is not needed anymore as I'll only work on the bore after finishing the recess and mounting holes. |
 |
| The biggest piece of aluminum rod tested on the recess of the 3 jaw chuck. It is a tad too small to be made into a gauge for the recess I'm cutting on the workpiece. A trip to Kelantan Lane is now unavoidable. |
When I visit the metal shop at Kelantan Lane, I'll also be buying a thicker piece of Mild Steel stock as the material left for the flange will be a little on the thin side, unless someone tells me otherwise.
I've been thinking about how I should go about marking out the PCD of the mounting screws. Of the 2 approaches I read, the one shown on an article posted on 7x12minilathe group seems easier. The other one on Tools and Mods seems to me to be more accurate as it will be concentric to the lathe centre. Any comment?
Another question, should I be boring and making the taper hole before threading or should I do it the other way round?
Like always, have a blessed week ahead!
3 comments:
Wong, on my four jaw chuck I needed to transfer the location of the mounting hole to the back plate. I bought short set screws that fit the holes in the chuck and some small ball bearings that would sit on the hex key socket. I could then put the set screws into the holes and adjust the depth until all four were just proud of the chuck back. I pushed the chuck onto the registration of the back plate and then tapped with a small hammer to transfer the locations to the back plate. I would bore the taper last, so it will be concentric to the lathe axis
GeneK
GeneK,
I was thinking of using transfer punch initially but none in my metric set gave a good fit in the M6 clearance holes of the chuck.
DaveH suggested using a divider on a dimple marked on the lathe using a centre drill.
I think what I'll do is to follow Dave's suggestion to scribe the PCD, cut the recess, and use the method shown on 7x12minilathe group to ensure that I got the scribe line correctly drawn.
What do you think?
Regards,
Wong
Wong, I'm not sure what the 7X12 group method is, but whatever you use remember this:
Think thrice,
measure twice,
cut once.
That little bit of wisdom was posted in the woodwork shop at Treasure Island.
GeneK
Post a Comment