This post is also available on my site here.
I finally found a suitable piece of aluminium to make the gauge for the recess. It was cut off from a long piece of 81mm diameter rod. No much of convincing required this round to get the piece I want. I've also collected the 80 degree insert tools from Mike. From my reading online, it is good for roughing due to its shape. The pair of left and right tool cost me SGD124 if I remember correctly.
With the right stock on hand, I happily turned down the aluminium block to close to the required dimension and slowing turning bit by bit till it fits the recess at the back of the 4 jaw chuck. After playing with steel for a while, I find cutting aluminium fast and easy. The job was quickly completed.
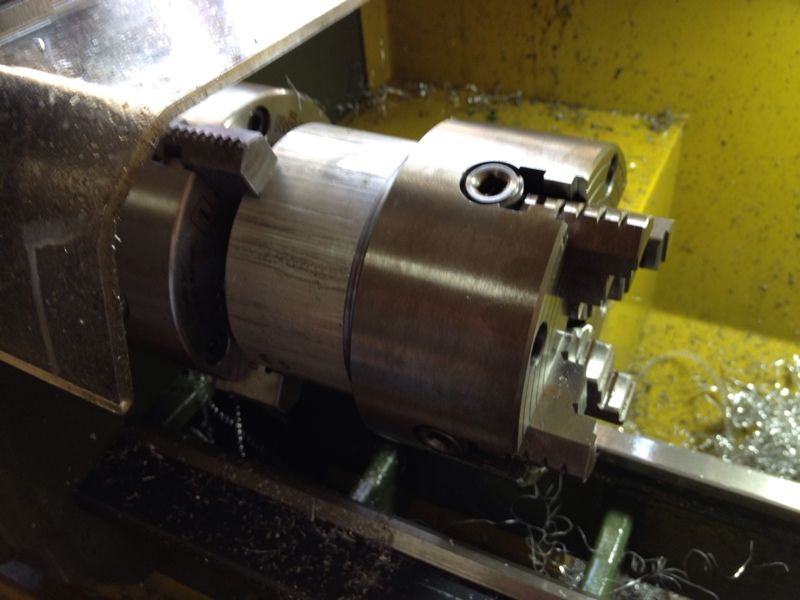
The half done ER32 collet chuck was remounted on the 3 jaw chuck to clean off the remaining skin and the back faced. I'm now ready to turn the recess.
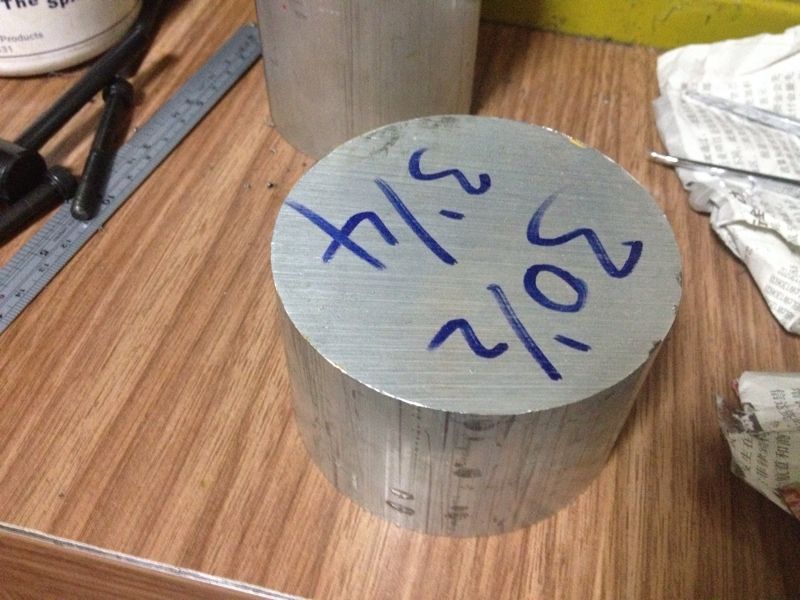 |
| The 81mm diameter aluminium piece of 50mm length cost me SGD15. |
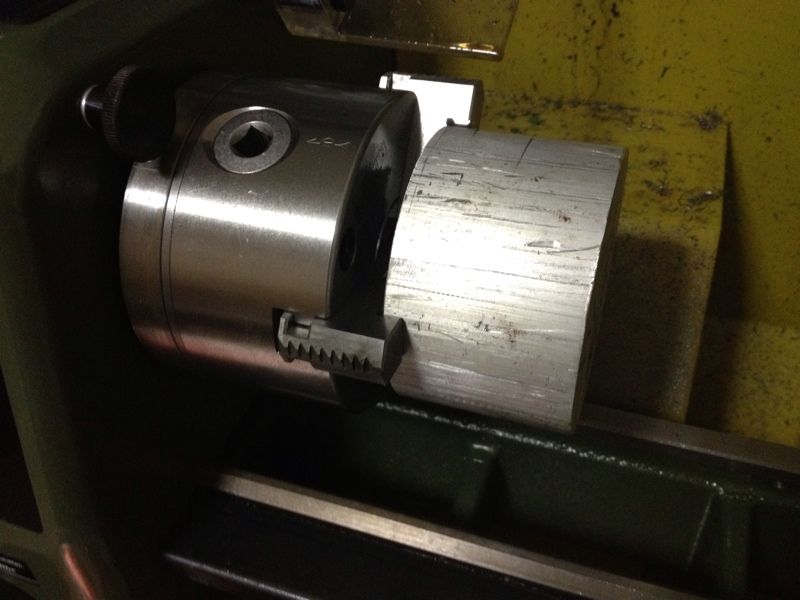 |
| Onto the 3 jaw chuck it went. |
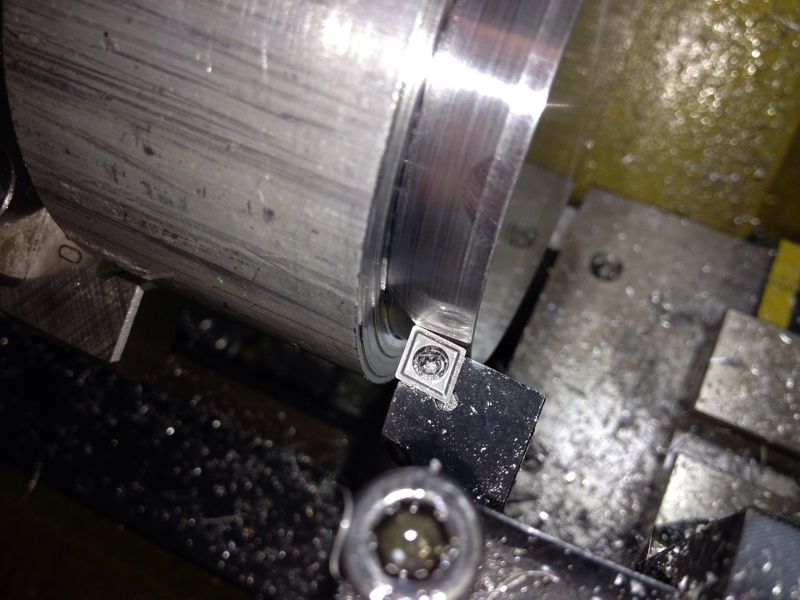 |
| The new 80 degree insert tool in use. |
 |
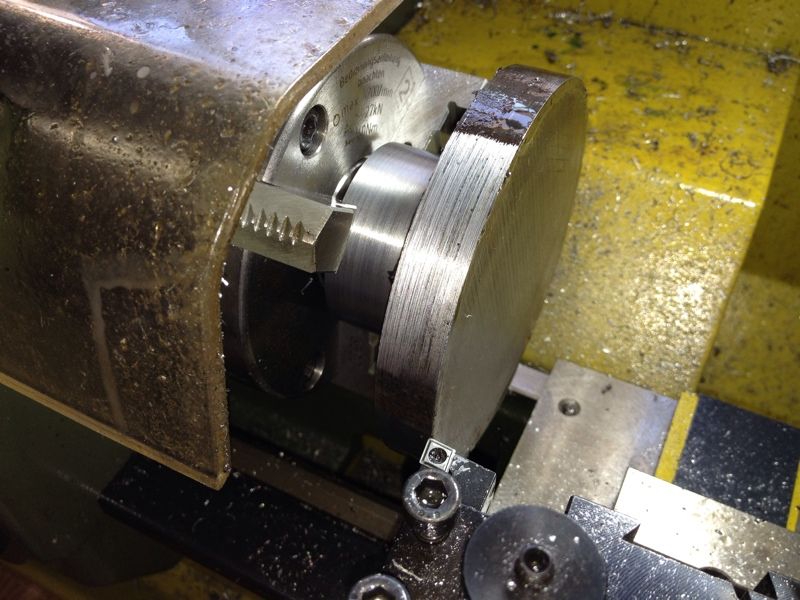
| A section of about 10mm turned down as the gauge. The 4 jaw chuck was used as a gauge to for making this. A little was turn off each time till I am able to fit the 4 jaw chuck on. |
 |
| No apparent movement felt when the 4 jaw chuck was mounted. The fit was slightly on the tight side. |
 |
| Posing for photo-shoot. If you look closely at the side of the gauge, you'll see a line which was created by the recess of the 4 jaw chuck. |
 |
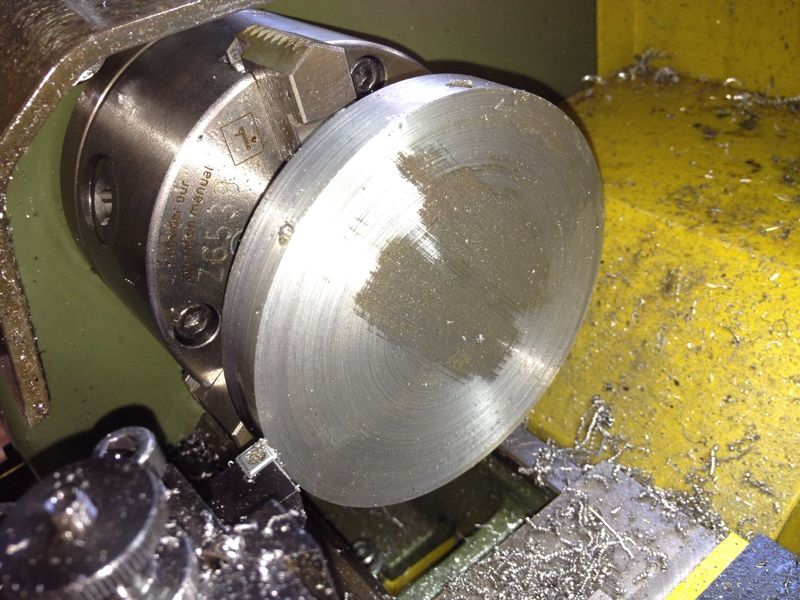
| Turning off the remaining "skin". No so fun as the hot chips kept hurting my hands and arm... ouch!!! |
 |
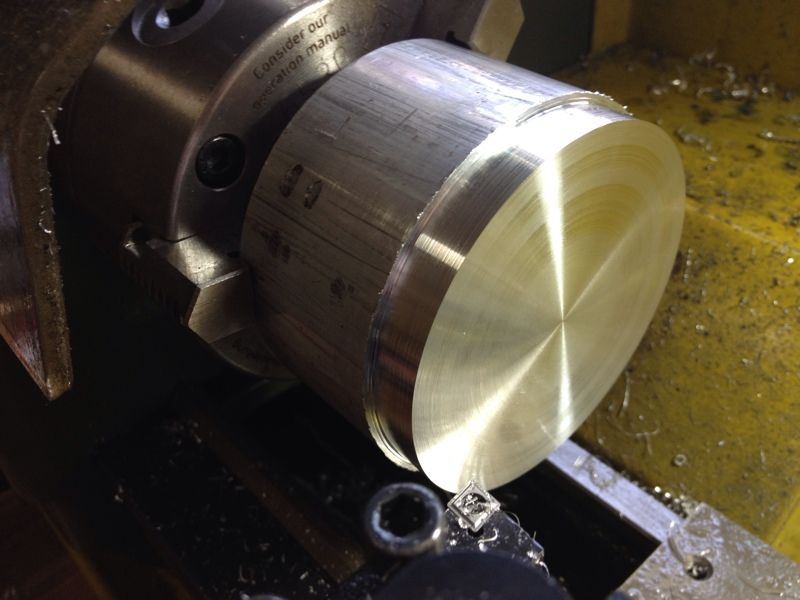
| The back face was squared up next. |
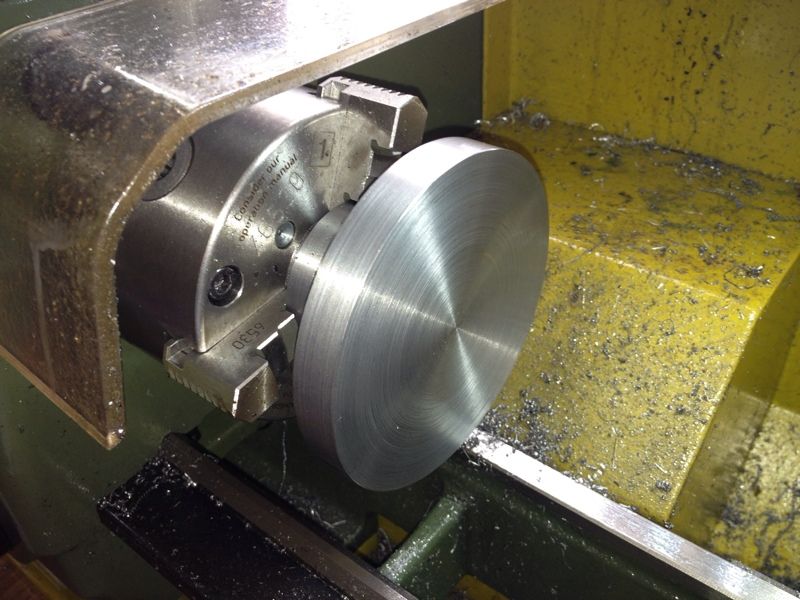 |
| Job done. My cross slide wasn't smooth to turn. Its a bit on the tight. This is my excuse for the not so ideal surface of the back face... hehehe... |
The experience gained while turning the nose helps. I'm starting to get some feel of spindle speed, depth of cut, and rate of feeding. Good that I'm feeling more confident in use the lathe.
The next challenge would be the recess, cutting the threads, and boring the taper. I'll be taking it slow to gain more understanding of the process.
No comments:
Post a Comment